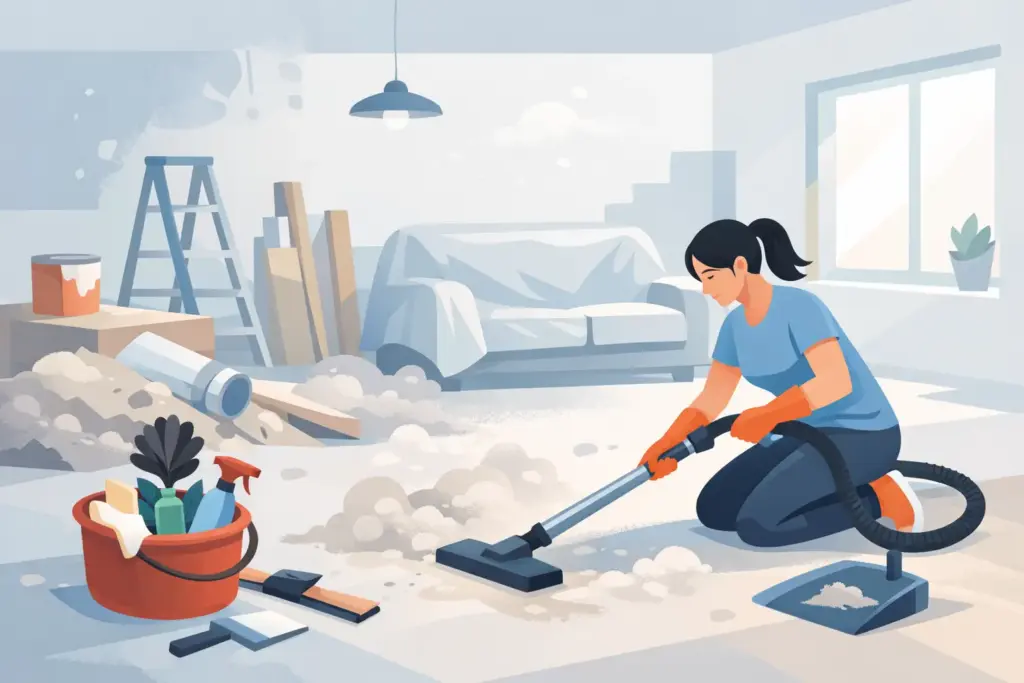
Renovation dust has a way of showing up where it does not belong: inside kitchen drawers, on window tracks, behind the toilet, and somehow on the freshly washed clothes in the next room. Knowing how to clean after renovation is less about scrubbing harder and more about cleaning in the right order. If you start on the floors before handling high surfaces, you will be doing the same work twice.
Whether you updated one bathroom or finished a whole-home project, a post-renovation clean should make the space safe, comfortable, and actually ready to use. Here is a practical plan that helps you get there without spreading more dust around the house.
Wait Until the Work Is Truly Finished
Before bringing out the vacuum, make sure the contractors are completely done. That includes sanding, drilling, grout work, touch-up paint, and hauling out debris. A single final cut of trim can put fine dust back across an otherwise clean room.
Ask for leftover materials, large scraps, nails, screws, and sharp pieces to be removed first. You do not want to reach behind an appliance or into a cabinet and find construction debris later. If the work involved drywall, tile, or wood cutting, expect fine particles to settle for at least a day or two after the last active work is completed.
Ventilate the space if weather allows, but do not throw every window open during active cleanup if it is windy outside. The goal is to improve airflow, not blow loose dust from one room into another.
Gather the Right Supplies Before You Start
Post-renovation cleaning is different from a regular weekly clean. A feather duster will only move fine dust through the air, and an old vacuum without a good filter can do the same thing. Use a vacuum with a HEPA filter if possible, along with microfiber cloths that trap dust instead of scattering it.
You will also want a mop, bucket, gentle all-purpose cleaner, glass cleaner, dish soap, a soft scrub pad, clean sponges, and plenty of trash bags. Keep a plastic scraper handy for dried paint spots on glass or hard surfaces, but test it carefully first. On wood, stone, luxury vinyl, or a newly refinished surface, the wrong tool can leave a permanent mark.
For your own comfort, wear gloves and a well-fitting mask while dealing with fine construction dust. Eye protection is smart when you are cleaning overhead vents, shelves, or light fixtures.
How to Clean After Renovation: Always Work Top to Bottom
The most important rule is simple: start high and finish low. Dust falls as you clean, so begin with ceilings, vents, light fixtures, upper walls, cabinets, and window frames. Then move to counters, furniture, baseboards, and floors.
Start by vacuuming dry dust from ceilings, walls, trim, window sills, and built-in shelving using a soft brush attachment. Do not press hard against freshly painted walls. After vacuuming, wipe surfaces with a barely damp microfiber cloth. Change or rinse cloths often. Once a cloth is loaded with dust, it can leave streaks and grit behind.
Pay special attention to places people miss: the tops of doors, ceiling fan blades, air vents, blinds, closet shelves, and the narrow gap between appliances and cabinets. These areas hold a surprising amount of dust, and the dust will keep circulating if it is left there.
Clean Cabinets, Drawers, and Appliances Inside and Out
New or renovated kitchens and bathrooms look finished from the outside, but dust often settles inside every empty drawer and cabinet. Remove shelf liners, packaging, and installation paperwork before you clean. Vacuum corners and seams first, then wipe the interiors with a lightly damp cloth and a mild cleaner that is safe for the cabinet material.
Let cabinets dry fully before restocking dishes, food, towels, or toiletries. If you put items away too early, trapped moisture and fine dust can turn into a gritty film.
For appliances, wipe exterior surfaces with a cleaner appropriate for stainless steel, glass, or enamel. Check inside the refrigerator, oven, dishwasher, washer, and dryer too. Installers may leave packing dust, tape residue, fingerprints, or small bits of cardboard behind. Avoid soaking control panels or spraying cleaner directly into vents and openings.
Handle Paint, Caulk, Grout, and Adhesive Carefully
A few paint drips or dried caulk smears are normal after renovation, but aggressive scraping can cause more damage than the original mess. The best approach depends on the surface.
Warm water and dish soap may loosen fresh water-based paint from glass, tile, and some sealed surfaces. For dried residue, use a plastic scraper at a shallow angle. Never use a razor blade on finished wood, acrylic tubs, delicate stone, or many vinyl surfaces unless you know it is safe.
Grout haze on new tile is another common issue. Use a product made for the type of tile and grout installed, and follow the manufacturer directions. Natural stone needs extra care because acidic cleaners can etch or dull the finish. When you are unsure, test a hidden area first instead of taking a chance on a visible surface.
Give Floors More Than One Pass
Floors are usually the final step, but they often need more than one cleaning. Start by vacuuming slowly, including corners, edges, and under removable furniture. Then mop with the right product for the floor type.
Hardwood and laminate should be cleaned with minimal moisture. Too much water can seep into seams and cause swelling or dullness. Tile can usually handle a more thorough mop, though newly installed grout may have specific curing instructions. Carpet may need repeated vacuuming over several days, especially after drywall work, because fine dust settles deep into fibers.
Do not forget shoe soles, entry mats, and wheels on carts or furniture. They can track dust right back onto floors you just cleaned.
Change Filters and Clear the Air
Even after every visible surface looks clean, dust can remain in the air system. Replace or clean HVAC filters after renovation, particularly if sanding or drywall work took place. If the project was large, it may be worth having ducts inspected or professionally cleaned, depending on how much dust entered the system.
Run the HVAC fan only with a clean filter in place. You can also use an air purifier with a HEPA filter in the most-used rooms for a few days. This is especially helpful for families with allergies, asthma, pets, young children, or anyone sensitive to dust.
Know When to Bring in Help
A small project may be manageable on your own. A larger renovation, however, can turn into a full weekend of detailed cleaning, and that is before you unpack and get life back to normal. Professional help makes sense when there are multiple rooms, heavy drywall dust, construction debris, high ceilings, or a deadline to move in or reopen an office.
At Mrs Clean Woodbridge, we understand that a post-renovation job is not a quick surface wipe. It means getting into cabinets, drawers, appliances, baseboards, bathrooms, and the spots where dust keeps hiding. For Woodbridge homes and small businesses, having a dependable cleaning team handle the final reset can save time and spare you from breathing in dust all weekend.
Before hiring anyone, be clear about what is still on site and what you expect finished. Construction debris removal, paint disposal, and heavy material hauling may be separate from cleaning. A good post-renovation cleaning plan should cover dust removal, detailed wiping, bathroom and kitchen cleaning, interior glass, and floor care, with the service adjusted to the condition of the space.
A renovated room should feel exciting the first time you use it, not like another job waiting for you. Take the cleanup one layer at a time, protect your new surfaces, and give yourself permission to get help when the final dusting feels bigger than your free time.